Tuesday 16 May 2017

Pipeline 1 : Skinning 5-7


Pipeline 1 : Skinning 1-4


Pipeline 1 : UV Complete

I found creating the UV's a little complex but I am delighted to finally understand how to properly do the process. Up to this point I had been using other techniques to bring texture and design to my work.


Pipeline 1 : Body Modelling


Pipeline 1: Head Modelling Parts 1- 14


Part 1


Part 2


 Part 3


 Part 4


Part 5


 Part 6


Part 7


Part 8


Part 9


Part 10


Part 11


Part 12


Part 13


Part 14


Lighting & Rendering 2 - Mental Ray Proxies

This tutorial taught me how to use Mental Ray Proxies to help with maya's crashing issues. By exporting the object as a proxy then using the bounding box of the object. The overall result frees up the viewport and prevents maya crashes associated with the issue. 


Rendered Eye Group

Workstation For Eyes 


Rendered Tree


Workstation For Tree


Lighting & Rendering 2 - Motion Blur

This tutorial explored the different ways to obtain motion blur in both Mental Ray and Maya Software. Motion Blur is vital to prevent animations looking unnatural and surreal, I was happy to finally explore the concept in further detail in this tutorial. You need to gauge for yourself if the motion blur is too little or saturating the animation. 


Arm Motion Blur


 Octopus Motion Blur


 Workstation View

Lighting & Rendering 2 - Ambient Occlusion

The tutorial I followed step-by-step, teaches us three different methods of using Ambient Occlusion in a scene. By using different lights and applying them to different shaders and textures yields surprising results. The third example I think is the best for expressing motives for a scene, Helpful with renders.


Version 1


Workstation For Version 1


Version 2


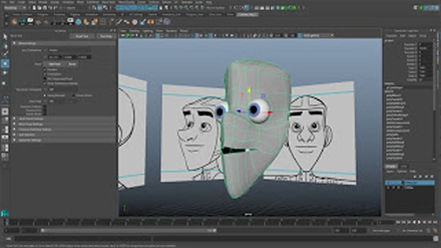
 Workstation For Version 2


Version 3


Workstation For Version 3 


Lighting & Rendering 2 - Displacement Maps


T-Rex Development Gif

01


 02


03


Workstation View


Finals


Lighting & Rendering 2 - HDR Lighting

Unwrapping the image in HDR proved quite tempermental when cloning the distortion. I followed the tutorial to fruition and was very pleased with the results. It is a great way to place an object into the real world as it were. I would love to use this process in projects to come. 

Step One


 Step Two


Step Three


 Step Four


 Finished Product (Step Five)